guest@samberry.dev:/portfolio# cat Friendship_Lamp_CloneFriendship Lamp Clone
I built a DIY version of LuvLink’s Friendship Lamps using ESP8266, NeoPixels, and MQTT—three lamps, synced across countries, for less than half the price. The project combined embedded systems, OTA updates, and Wi-Fi UX, making it one of my most rewarding personal builds.
Why Buy 3 When You Can Make 3?
Recreating LuvLink's Friendship Lamp with ESP8266, NeoPixels, and a Lot of Coffee
Let me take you back to early 2021, where the world could do with more social interactions across long distances. I wanted to give my family (who live in another country) something meaningful, something connected — and also scratch that maker itch with a personal challenge. Inspired by LuvLink’s Friendship Lamps (cute Wi-Fi-connected RGB led lights that glow in sync across distances), I asked myself:
Why buy three for $$$ when I could make three for <$ and learn a ton in the process?
Spoiler: I did it. And it worked. And yes, I refreshed my electronics knowledge, learned a bunch about ESP devices, MQTT, OTA updates, and more along the way. Here's the story.
The Mission
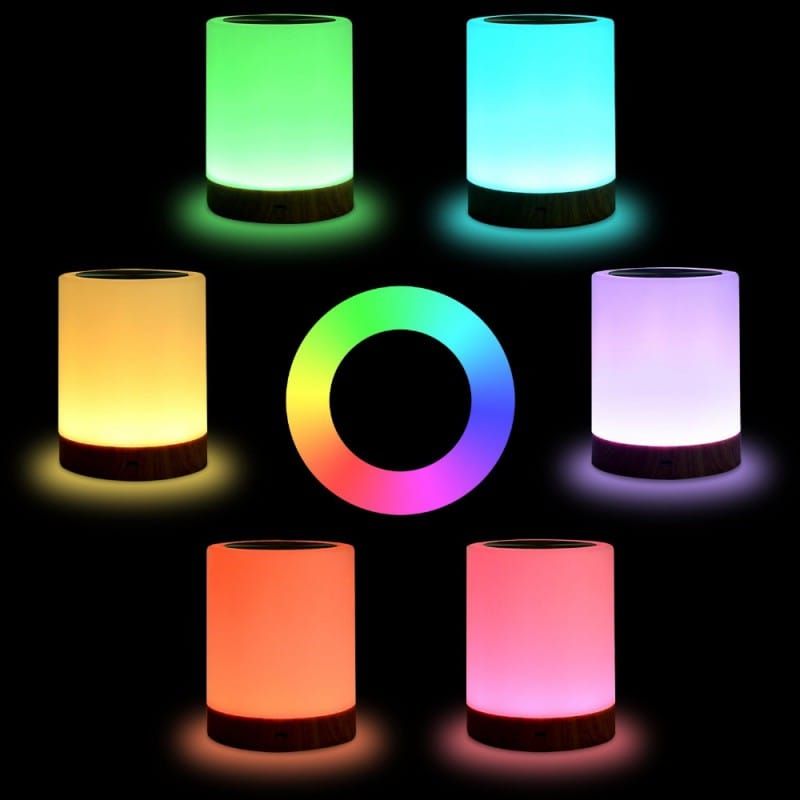
LuvLink’s Friendship Lamps let you touch your lamp, and—poof!—a paired lamp across the world glows with the same color. Sweet idea, but expensive when you want more than two. So I set out to:
- Clone the core functionality
- Make three of them for less than half the price of one retail set
- Use the project to revisit microcontrollers, circuit design, and embedded programming
- Finish it in time for Mother's Day
The Hardware
The brains of the operation? A humble D1 Mini (ESP8266). I could have picked something beefier, but these little guys are small, cheap, reliable, and packed with features for Wi-Fi-connected projects.
I gutted a set of Chinese ambient RGB lamps (just decorative touch lights that look suspiciously like the real deal), stripped out the original LEDs, and replaced them with NeoPixel rings—those delightful addressable RGB LEDs from Adafruit that can do buttery-smooth color fades, custom animations, and more.
Touch Input?
Here’s where I went a little old-school. I rigged up a simple RC circuit connected to one of the D1 Mini’s digital inputs to simulate a touch sensor. It worked well enough, but in hindsight... I could’ve saved time and effort by using a microcontroller with capacitive touch input baked in (like the ESP32). Lesson learned!
The Software Stack
Recreating the core functionality wasn't just about lights and taps—it was about making the experience feel polished and connected. I did my best to mimic the real product’s behavior based on what I could find online.
Here’s what went into the firmware:
🛰️ MQTT for Realtime Communication
Each lamp connected to a shared MQTT broker (Adafruit IO). When one lamp was touched, it published a message with the configured color. The others would instantly pick it up and glow accordingly. The latency was so low, it felt like magic.
📶 WiFi Setup Mode
I implemented a dedicated setup mode (triggered via long press or first boot) that spun up an access point and served a captive portal using WiFiManager and themed to look like a genuine product. Family members could easily onboard their lamps to their home Wi-Fi—no fuss, no USB cable, no technical knowledge.
🔄 OTA Firmware Updates
Once the lamps were gifted and out in the wild, I still wanted to be able to iterate, such as adding fun animations for special days, like christmas and birthdays. So I baked in secure Over-The-Air updates, allowing me to push firmware tweaks or bug fixes without needing physical access. Huge win.
🌈 Status Modes & Boot Feedback
I wanted the lamps to feel alive, so I added a bunch of UX flourishes:
- Startup color swirl while the lamp connected to Wi-Fi
- Special animation modes for setup/reset/OTA update
- A subtle blink for "connected" confirmation
These weren’t essential, but they made the whole experience smoother and more intuitive—especially for non-technical users. And theses light patterns and their meanings were already well documented by our friends over at LuvLink.
Lessons Learned
- Microcontrollers are ridiculously powerful these days. The D1 Mini (ESP8266) handled Wi-Fi, OTA, touch input, and RGB control without breaking a sweat.
- MQTT is the hero of IoT projects. Lightweight, real-time, and easy to manage.
- Next time, use a chip with native touch input. My RC circuit worked, but ESP32s are just as cheap, save you the analog gymnastics and aren't as prone to noise.
- Recreating commercial UX is hard but rewarding. Things like status lights, update feedback, and onboarding flow aren’t just bells and whistles—they're what turn a hack into a product.
The Payoff
By Mother’s Day 2021, all three lamps were in place—in three different homes, across two countries. And every time someone taps their lamp, the others glow the same color. No text. No call. Just a quiet "I’m thinking of you."
What started as a budget hack turned into one of my most rewarding personal projects to date. It reminded me why I love working with embedded systems and hardware. And my families reaction? Totally worth the solder fumes and frantic last-minute debugging and touch sensor tuning.
Hot tip: Never (again) roll your own touch sensor.
Would I do it again? Absolutely. But maybe next time with a less looming deadline, an ESP32, a better enclosure (now that I have a 3D printer), and some more reactive animations just for fun.